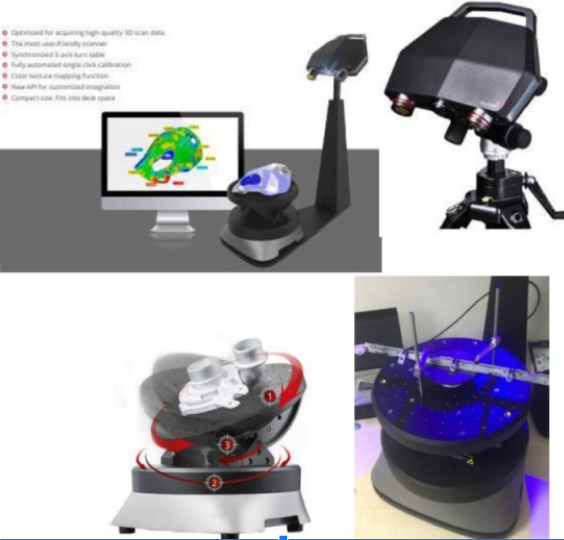
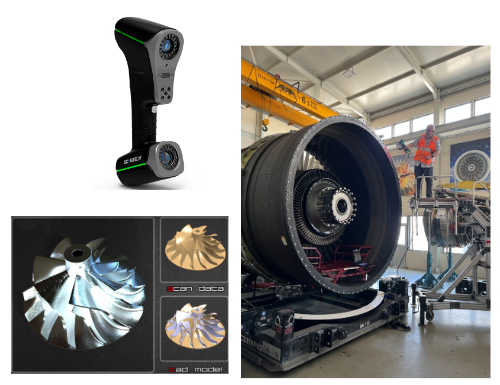
We have the Scantech Kscan 20 3D Laser Scanner and the Solutionix C500 Optic 3D Scanner;
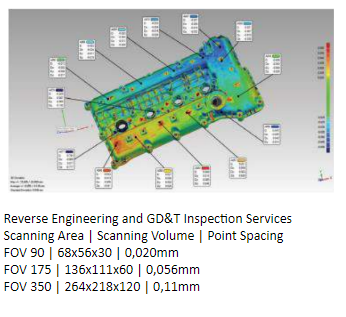
– Reverse engineering services
– GD&T Inspection Services
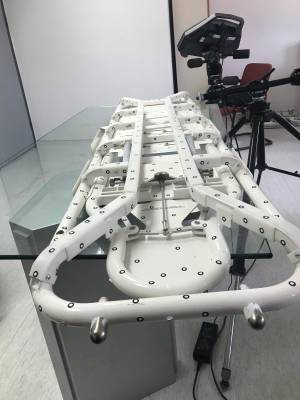
– Up to 6 meters in size
– Tripod for larger parts up to 2m. Parts.
– Automatic calibration
– 3 and 5 axis tables for 10 kg to 100 kg.
What is 3D scanning?
3D scanning imports parts that do not have CAD data into the computer environment. Nowadays, if we want to produce the part using CNC machines or 3D printers, we need the CAD data of the part. We can use 3D scanning equipment to perform quality checks on manufactured parts.
Give us a call:
Send e-mail:
Laser and optical processes are generally used in scanning processes. During the scanning process, a ball of light is sent to the object to be scanned, generally defining it and creating central point clouds. Nowadays, using the latest technology equipment, this scanning process can be carried out in a short time and all the details of the real object can be transferred to the computer environment.
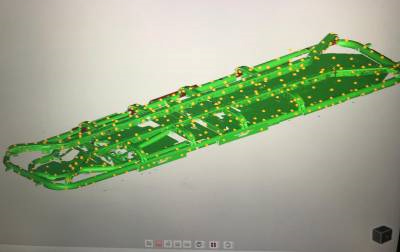
“3D optical scanning systems” is the process by which millions of points are digitized by reflecting a light source onto the part and cameras processing the photos taken with this reflected light. This digitized data is called a point cloud. This point cloud is described in the reverse engineering software as mesh data (Triangle – STL). This is a visualization of the Mesh Data point cloud. It is impossible to scan invisible parts of parts in optical 3D scanning systems.
The 3D laser scanner is a measuring machine with advanced technology that transmits objects as coordinated point clouds into the computer environment (digital environment) at regular intervals with the laser beams that it sends from the position where it is positioned for measurement. In a short time the environment is measured with laser beams and millions of point clouds are created. 3D laser When measuring with scanners, the point cloud is created without touching the part and without damaging the part surface.
Industrial
Computed tomography CT and industrial part CT scanning use the same technology as medical CT scanning devices: they take multiple measurements from different angles and convert grayscale CT images into voxel-based 3D point clouds. After the CT scanner creates the point cloud, we can perform quality control on a CAD part and create CAD data using reverse engineering software.
Advantages
Its parts receive a non-destructive internal structure,
Produces extremely accurate internal dimensions,
Allows comparison with the CAD model,
There is no shaded area,
Compatible with all shapes and sizes,
Requires no post-processing,
Excellent resolution is achieved.
Example images of 3D scanning

